Advanced Design Tools
The design canvas carries more than the panels that build a monument. This page covers the toolbar across the top, working on the front and back of a stone, custom sizes, uploading your own artwork, layer order, and the view controls around the edge of the canvas.
The panels down the left edge build the monument. The controls around the canvas are what make it workable: measuring, alignment, reversing a change, and seeing the design the way it will be cut.
The Toolbar
The bar across the top holds the tools that act on the canvas rather than on the catalog.
- Select. The default pointer, for picking up and moving what is already on the stone.
- Measure. Reads distances on the canvas, for checking a margin or confirming that an element is centered.
- Grid. Turns on a reference grid to line elements up against.
- Undo and Redo. Step backward and forward through changes.
- Duplicate and Delete. Copy or remove whatever is selected.
The design name sits in the middle of the bar, with Unsaved beside it whenever there are changes that have not been stored. Save and Proceed are at the right.
Working on the Front and Back
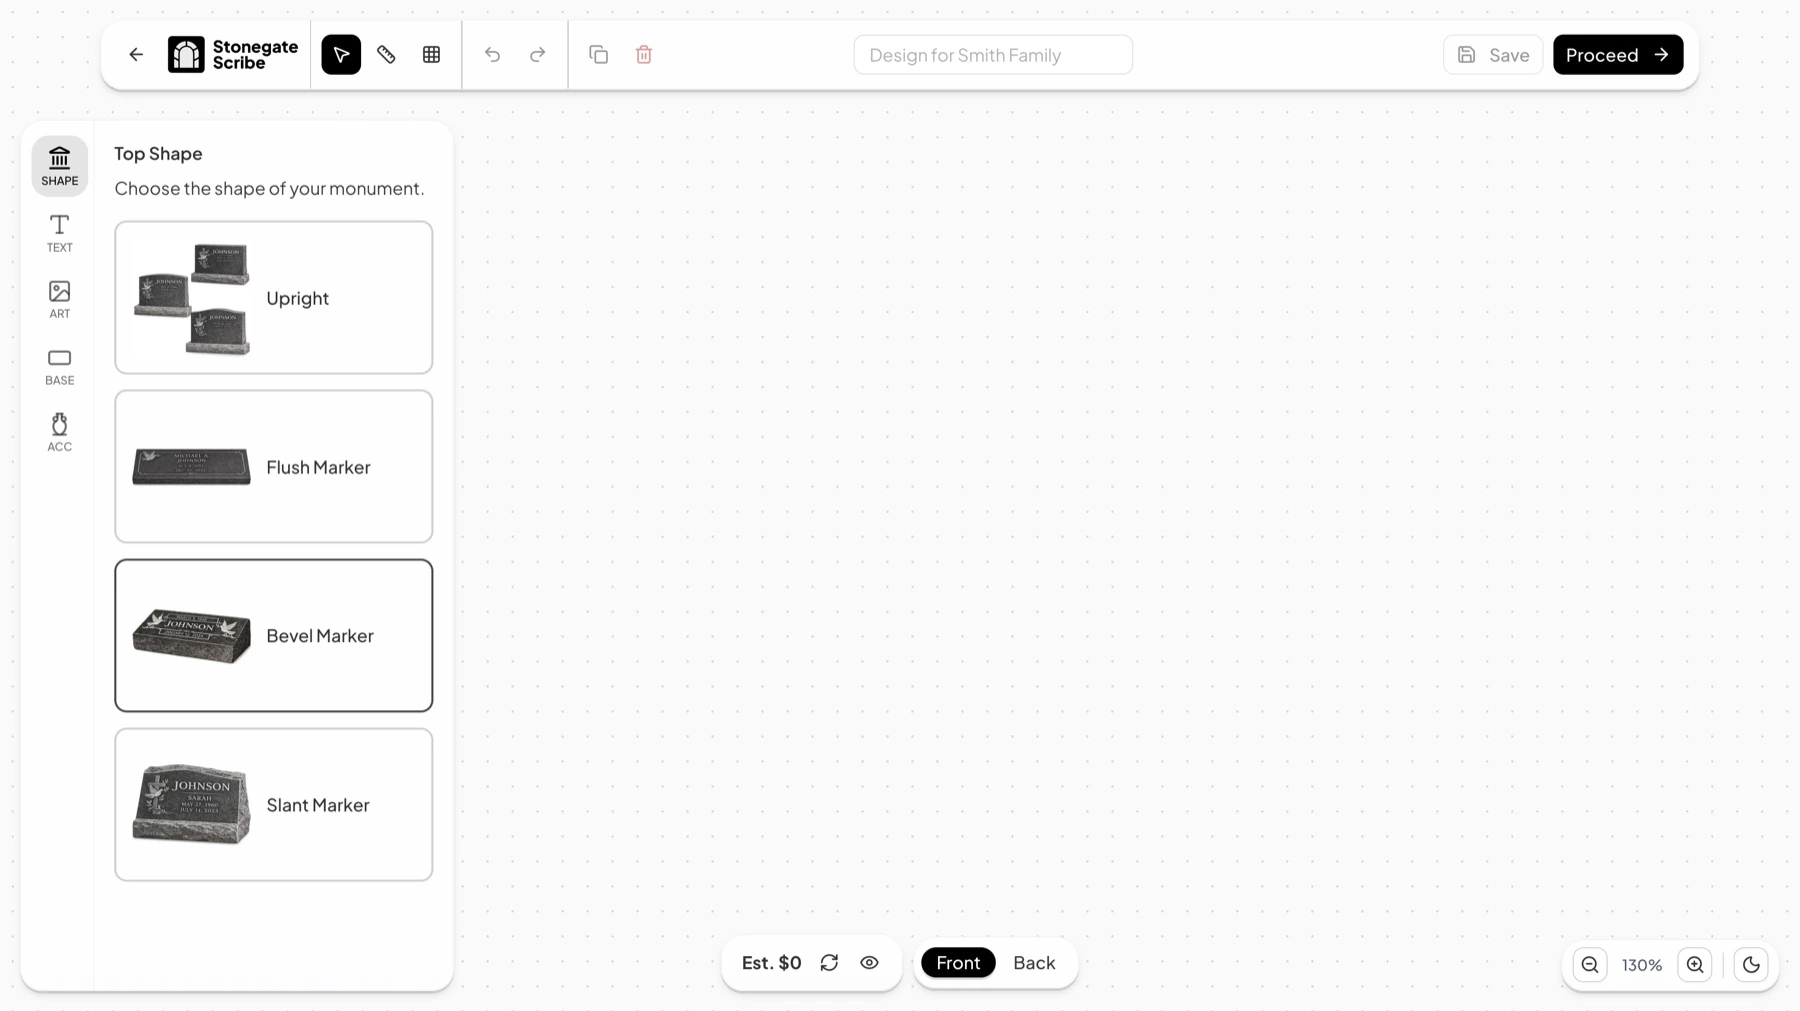
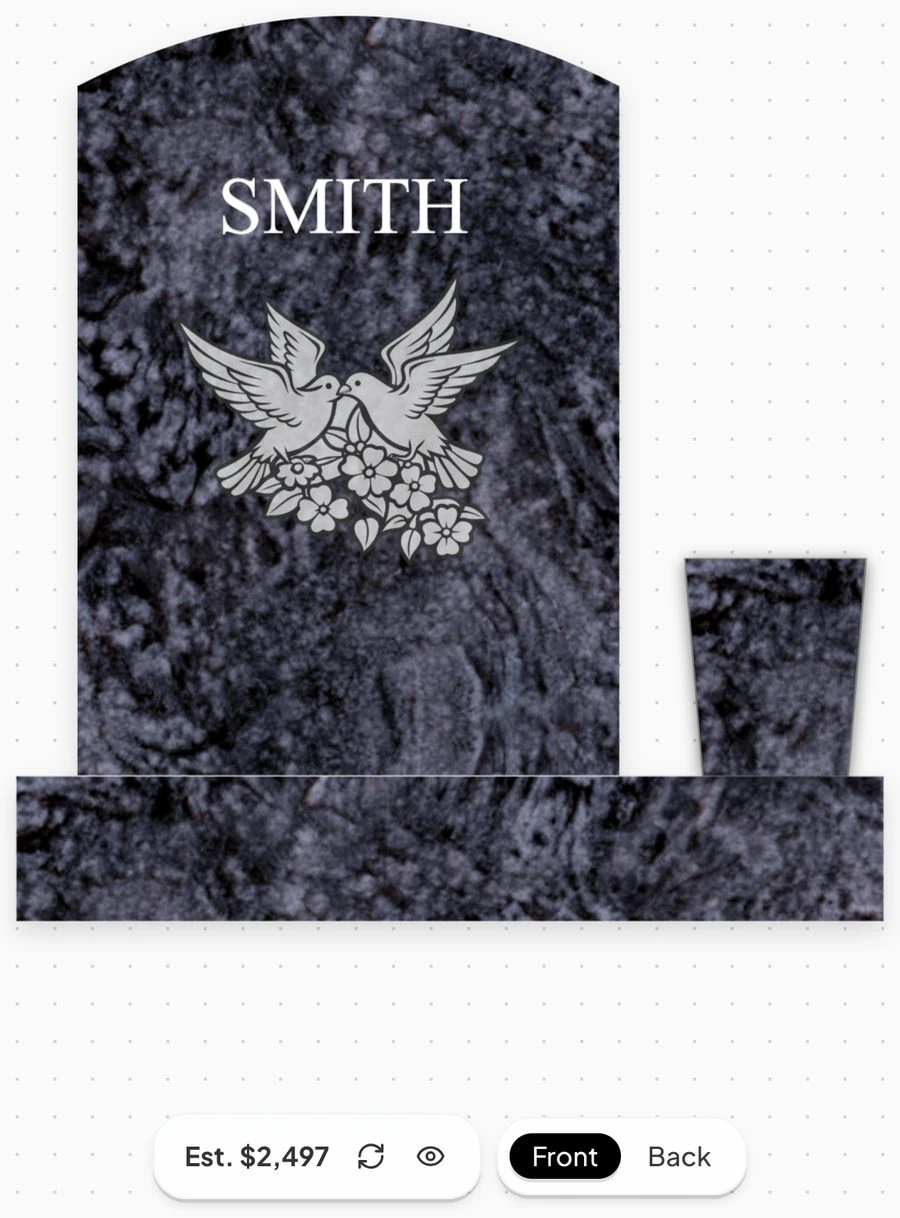
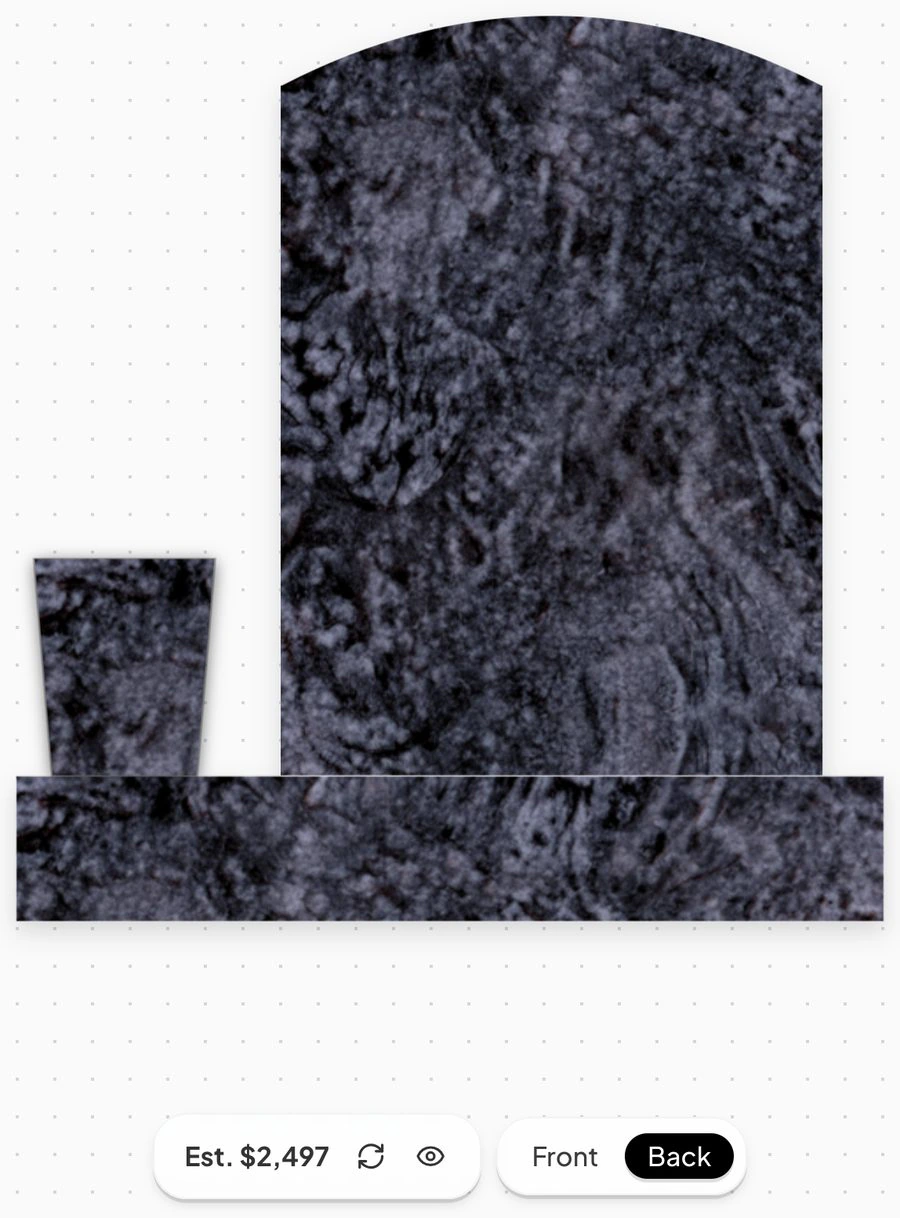
A monument is cut on both faces, and the tool treats them separately. The Front and Back toggle under the canvas switches between them, and the TEXT and ART panels are headed with the side currently in view.
Anything added applies to the side showing at the time. An inscription meant for the back has to be added with the back in view, not moved there afterward.
Front
Back
Custom Sizes
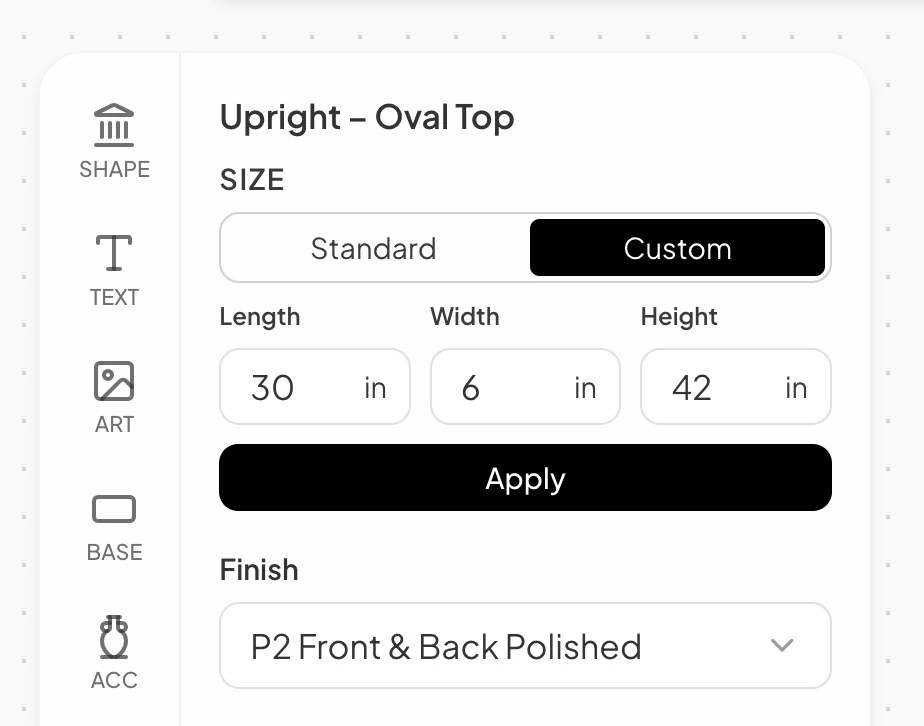
SIZE opens on Standard, which lists the sizes the wholesaler carries for that shape. Custom replaces that list with Length, Width, and Height in inches. Apply commits the dimensions to the design, and the canvas and the estimate both change to match.
Uploading Custom Art
ART opens on the wholesaler's clipart library. My Uploaded Art is the other half of it, holding artwork brought in rather than chosen from the catalog: a lodge emblem, a company logo, or a drawing a family has supplied.
Upload Art takes a single file. Bulk Upload takes several at once.
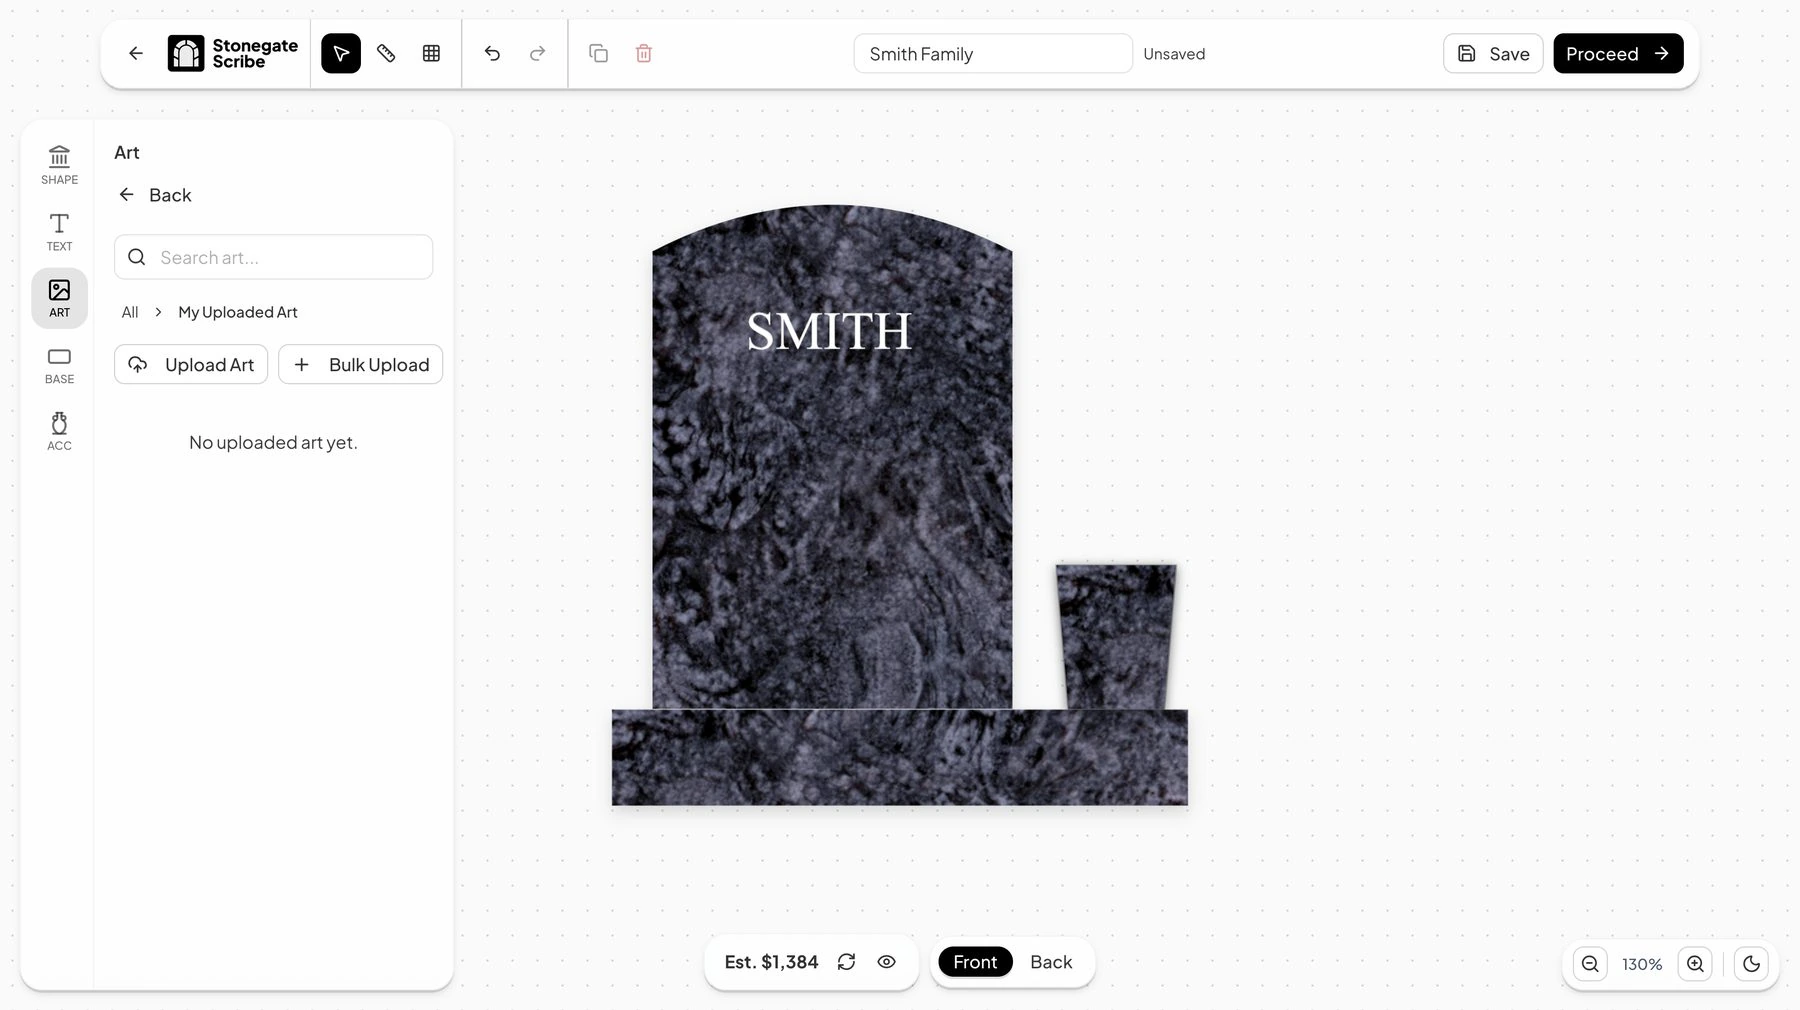
- Open ART, then My Uploaded Art.
- Click Upload Art.
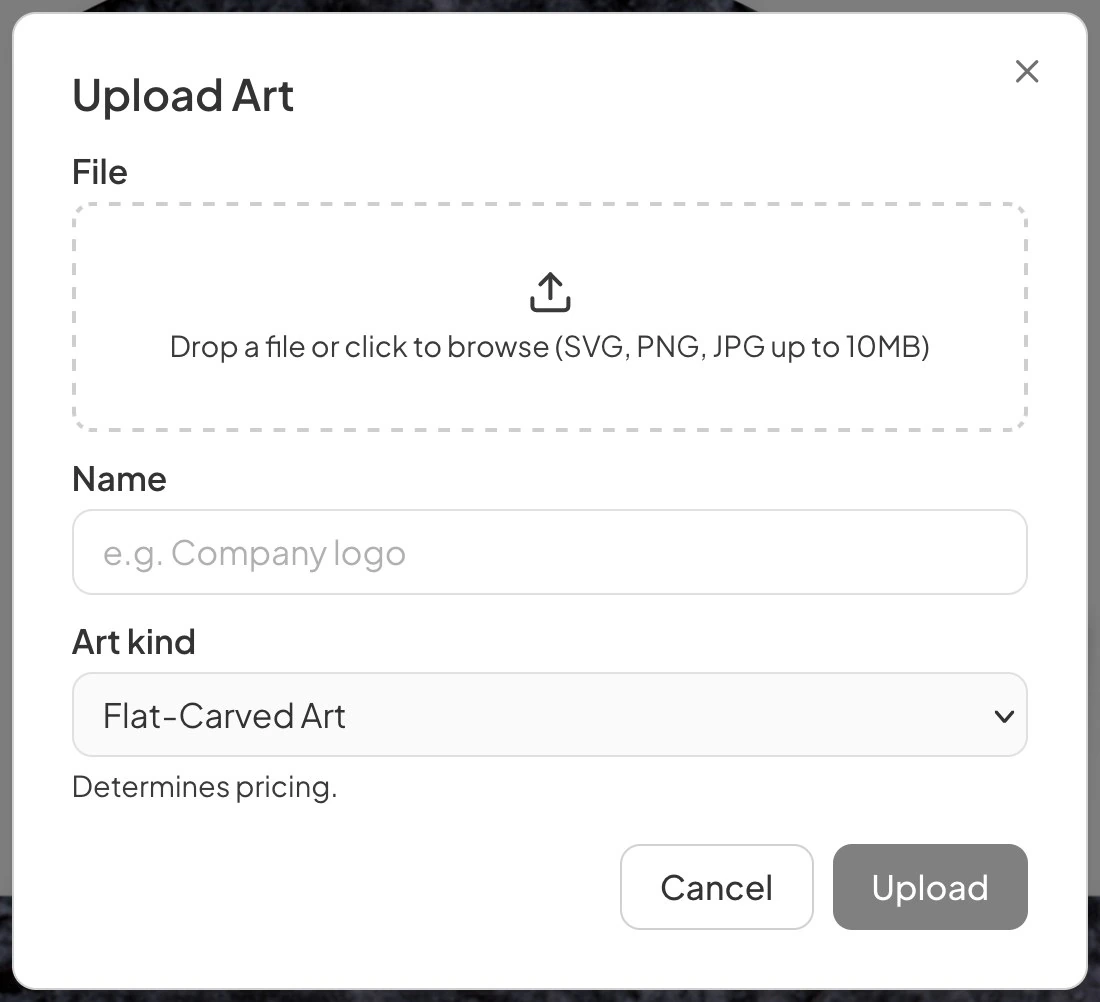
- Drop the file on File, or click to browse. SVG, PNG, and JPG are accepted, up to 10 MB.
- Enter a Name. This is what the piece is listed under afterward.
- Choose the Art kind. This is what the piece is priced as, so it changes the estimate.
- Click Upload.
Uploaded art belongs to the account rather than to the design that used it. It stays in My Uploaded Art between sessions and can go on as many monuments as needed, so an emblem is uploaded once rather than each time it comes up.
Uploading a piece does not mean it can be cut. As with a custom size, it is a request the wholesaler reviews along with the quote, and fine or intricate work may be beyond what their equipment or the stone will hold.
Layer Order
Text boxes and artwork stack, and the arrows beside each entry in Text Objects and Added Artwork move it up or down that stack. This is what decides which one is on top where an inscription and a carving overlap.
The list order is the stacking order, so the panel is a faster way to sort out an overlap than dragging on the canvas.
Scaling and Flipping Artwork
Selected artwork opens a toolbar above the canvas. Scale resizes it as a percentage, and the two icons at the right of that toolbar mirror the piece horizontally or vertically. Mirroring is what pairs a piece of art on one side of a stone with the same piece facing the other way.
Texture in the same toolbar sets how the carving reads, such as Frosted. It is a separate choice from Color.
View Controls
- Zoom. The controls at the bottom right zoom the canvas in and out and show the current percentage.
- Hide the estimate. The eye beside the estimate switches the figure off and on. A retailer designing at the counter can hide it, so a family sees the monument without the price beneath it.
- Recalculate. The circular arrows beside the estimate refresh it.
- Dark mode. The moon at the bottom right switches the canvas background between light and dark. A pale carving on dark granite reads differently against each, so it is worth checking both before submitting.
Next Step
A finished design is submitted as a quote request. That, and what the wholesaler does with it, are covered in Creating a Quote From a Design.
Last updated August 1, 2026
Still need help?
If this page did not answer your question, email our support team and include your account name and what you were trying to do.