Creating a Design
A design is a monument configured from the catalog, priced as it is built. This page walks through the design tool from choosing a shape to saving the finished design, and covers the base, accessories, text, and artwork that go on it along the way.
Build a design to configure a monument from the wholesaler's catalog and see what it costs while the configuration is still changing. A design is the starting point for a quote, but it is not a quote on its own.
Who Can Build a Design
Both retailers and wholesalers use the design tool. For a retailer it is the normal way of putting a monument together. A wholesaler builds one when a retailer sends the request in by phone or email rather than working in the tool.
Before You Begin
- The retailer needs an active invitation to the wholesaler's account. There is no public sign up, and the design tool cannot be reached without one.
- The catalog has to hold the shapes, sizes, finishes, and accessories the design calls for, with pricing set. The tool is built from the catalog, so anything missing from it cannot be configured. Wholesalers can work with Stonegate support to ensure their catalog is uploaded correctly and ready for the design tool.
How the Tool Is Laid Out
Five sections run down the left edge, in roughly the order a design is built: SHAPE, TEXT, ART, BASE, and ACC for accessories. Selecting one opens its panel beside the canvas.
The monument itself sits on the canvas in the middle, and Est. under it is the running estimate. It is recalculated every time the design changes.
Choosing a Shape
Top Shape is the first choice, and it decides what the rest of the design can be. In the example below, four kinds are offered: Upright, Flush Marker, Bevel Marker, and Slant Marker.
A wholesaler can carry any number of shapes and styles, so another catalog may open with a longer list than this one.
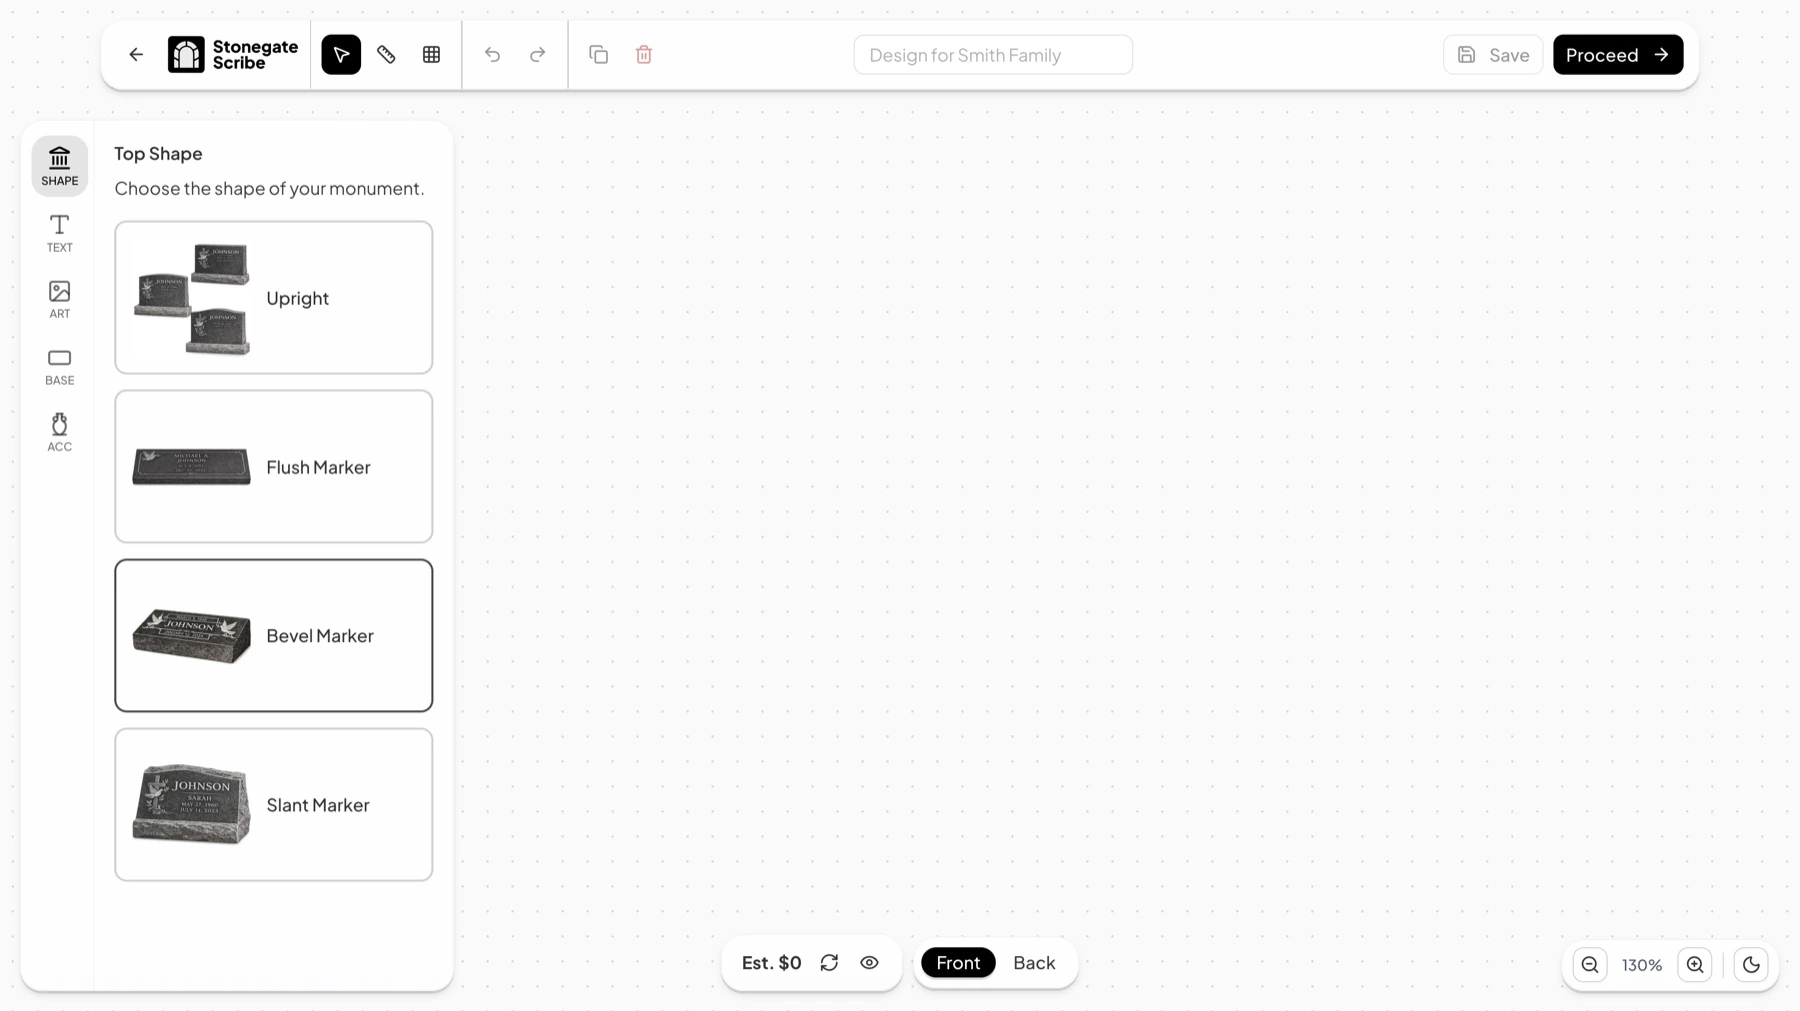
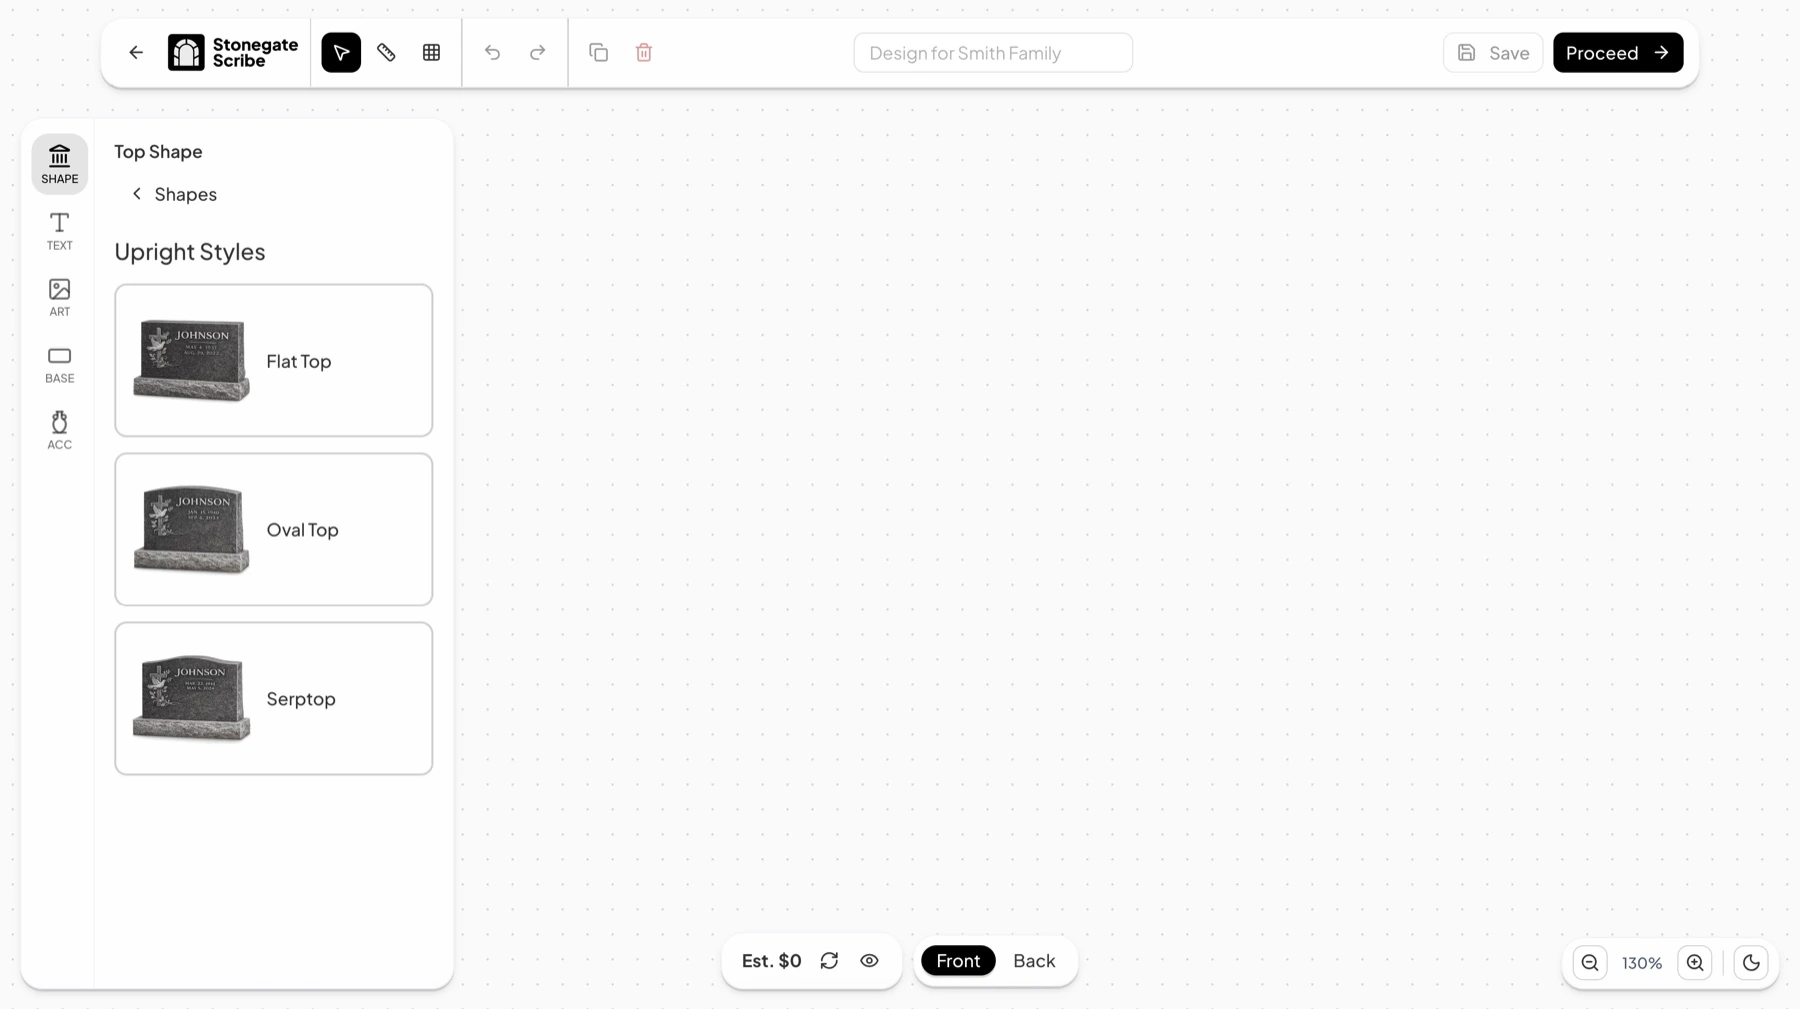
Choosing one opens its styles. An upright, for example, offers Flat Top, Oval Top, and Serptop.
Setting Size, Finish, and Color
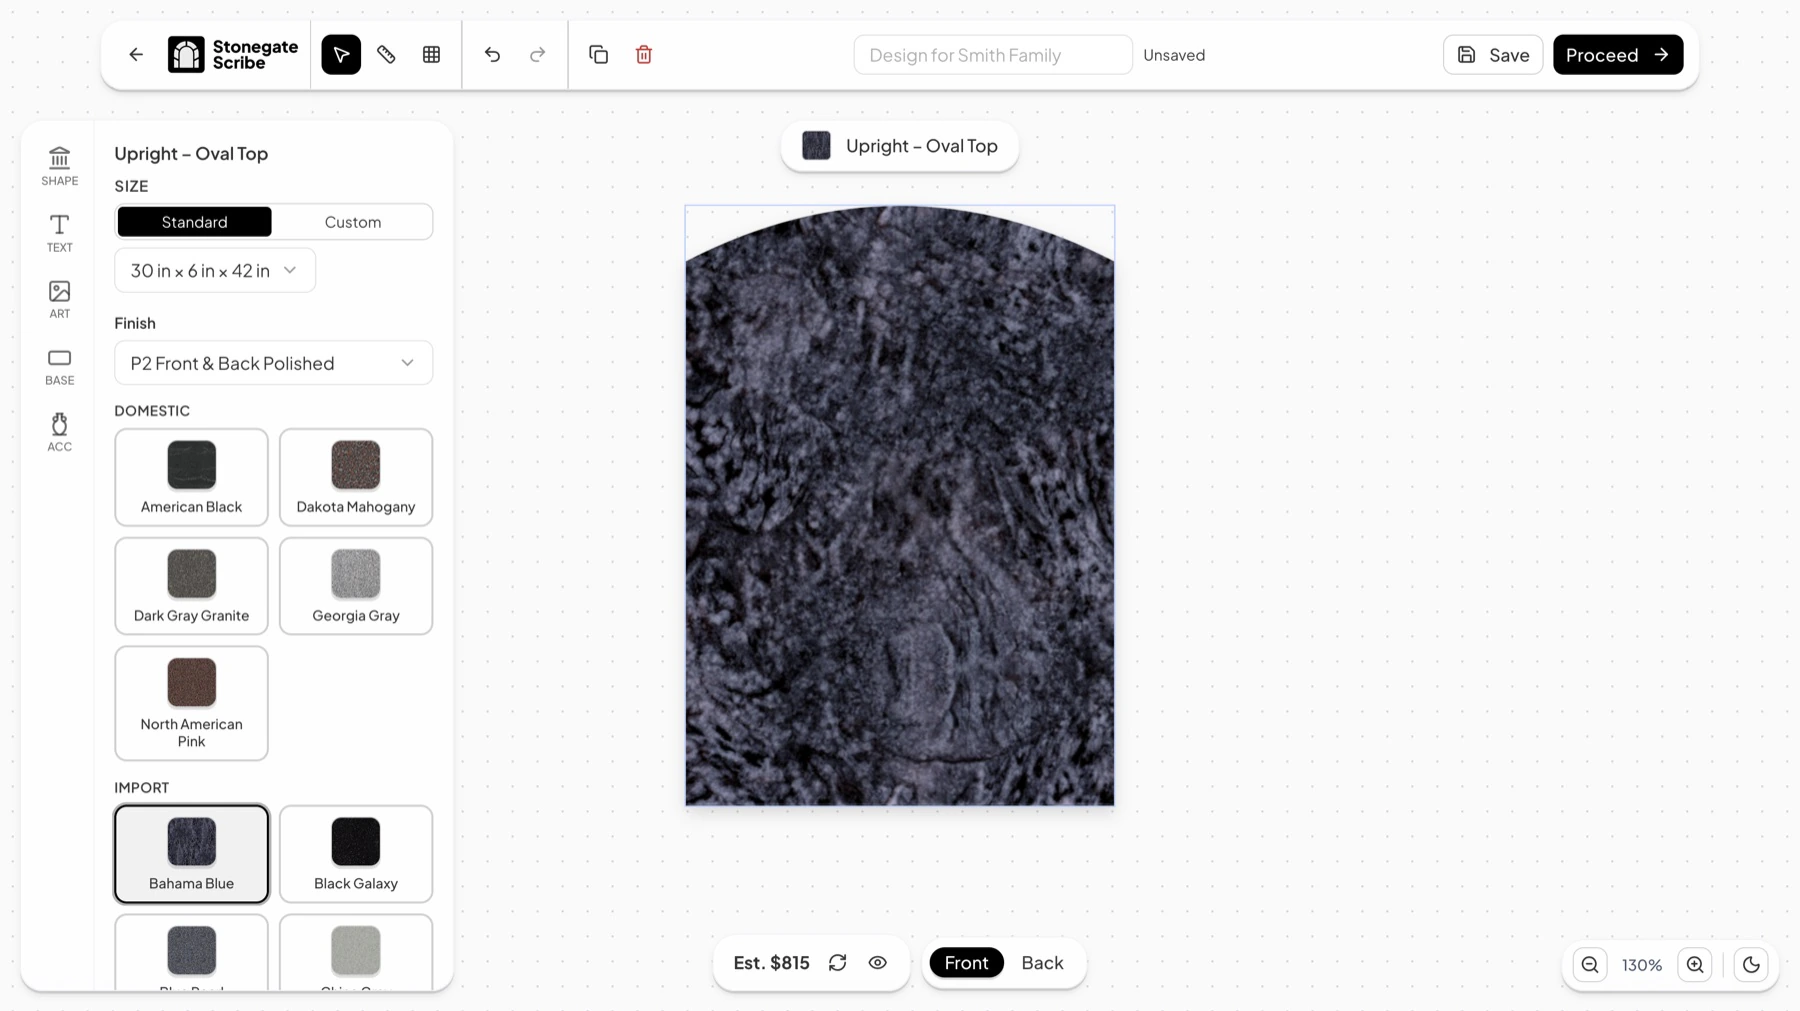
Picking a style opens the panel for the stone itself, headed with what was chosen, such as Upright – Oval Top.
- SIZE offers the catalog sizes under Standard.
- Finish names which faces of the stone are worked, and how, such as P2 Front & Back Polished.
- Colors are typically grouped into DOMESTIC and IMPORT, each shown as a swatch of the real stone.
The canvas is a plain gray outline until a color is chosen, then fills with that stone. The estimate moves at the same time.
Adding a Base
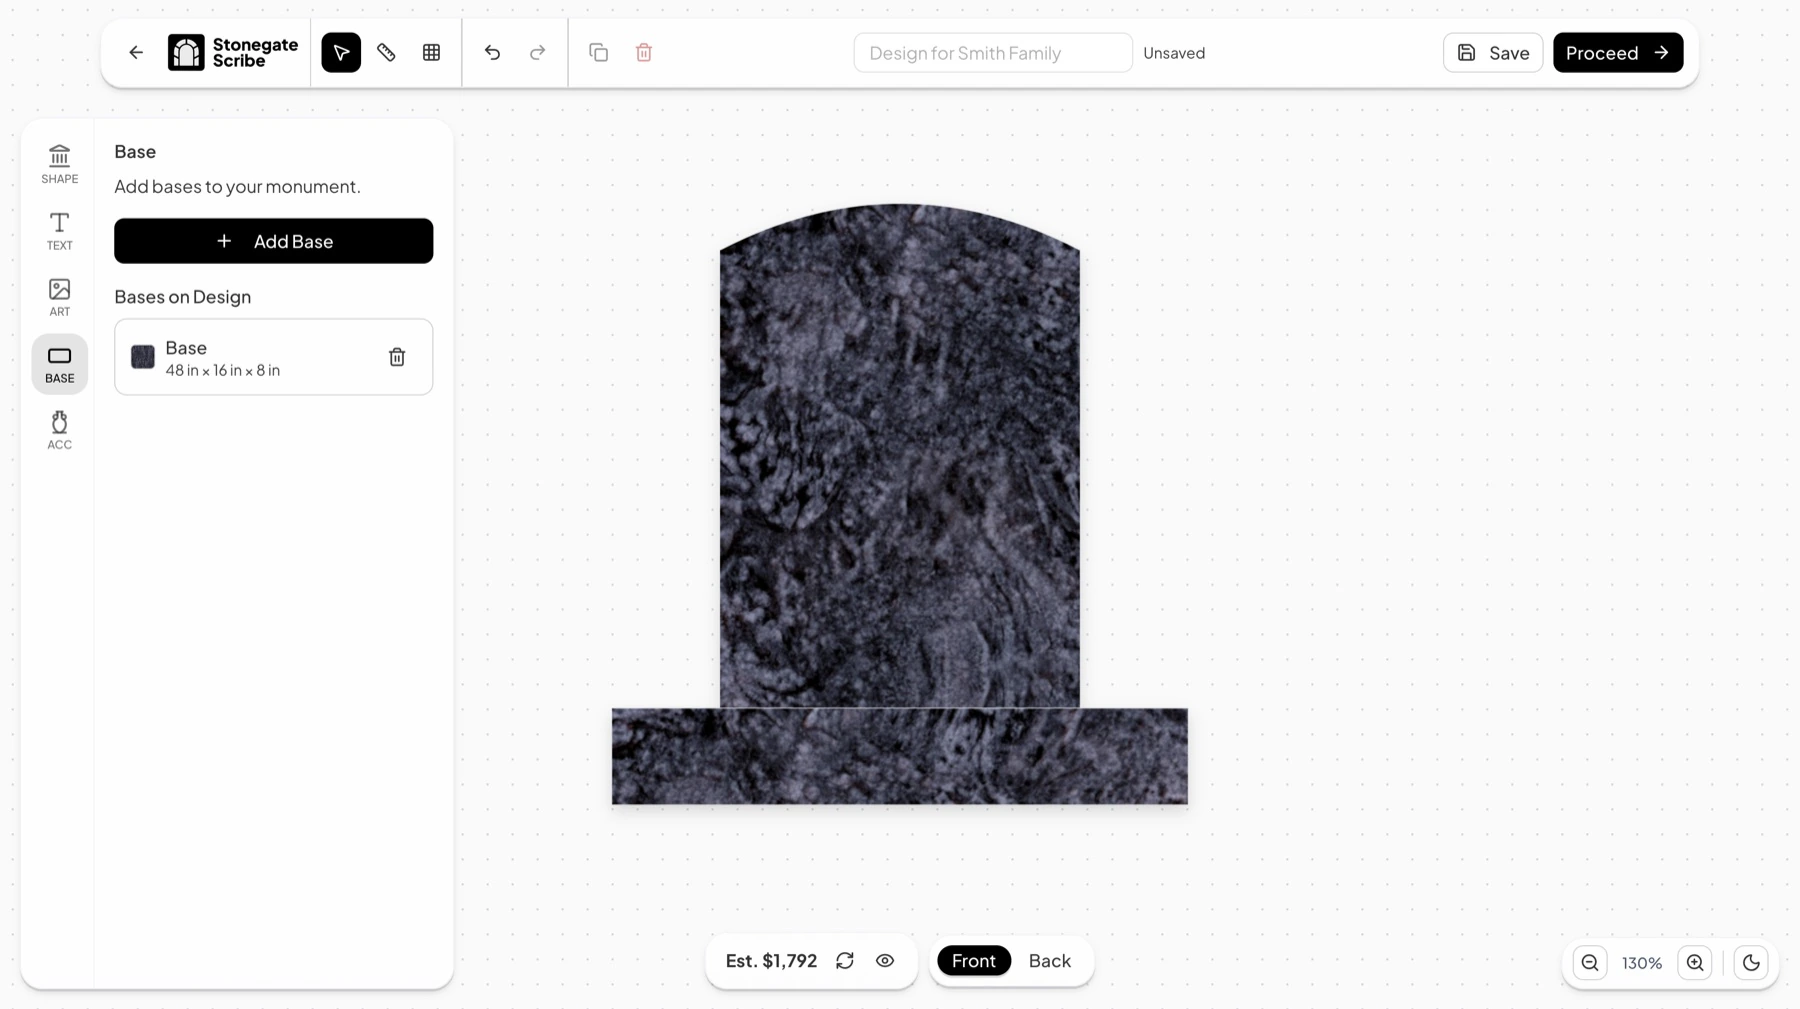
BASE holds Add Base, which opens the same kind of configuration a shape does. A design can carry more than one base.
Adding Accessories
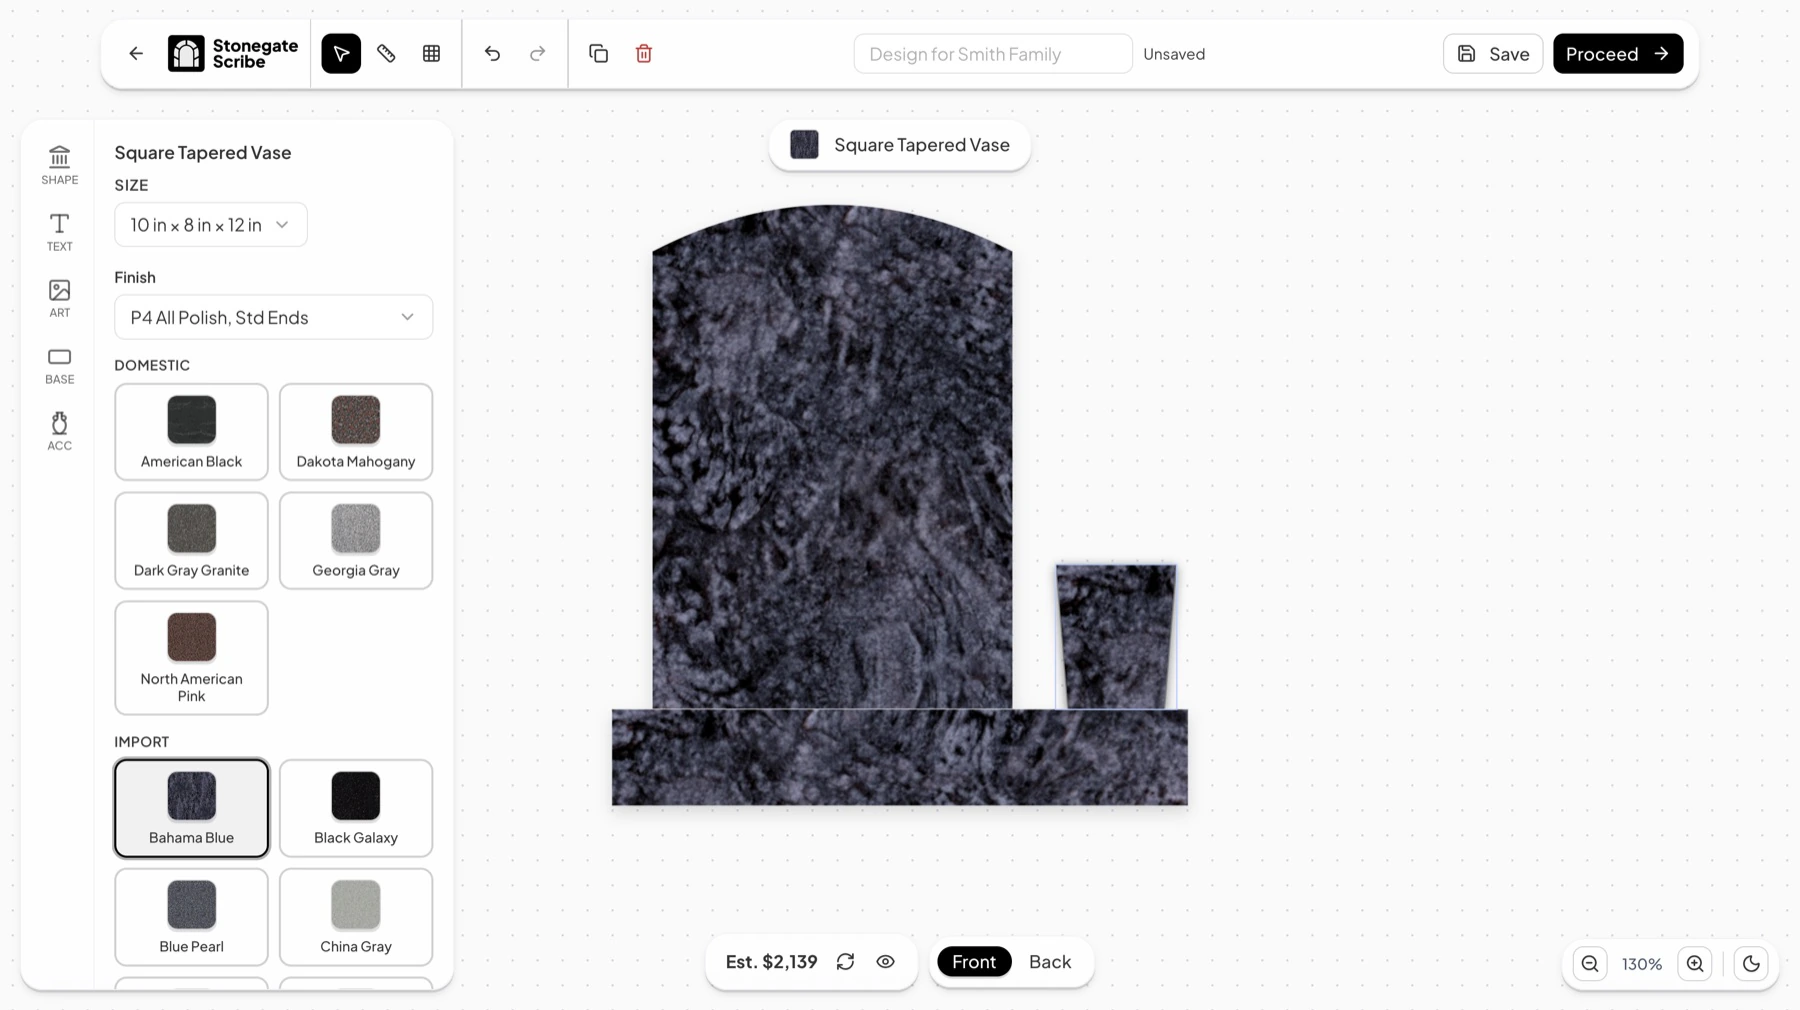
ACC covers the pieces that sit alongside the monument, such as vases and statues. An accessory carries its own size, finish, and color, chosen the same way as the stone.
Adding Text
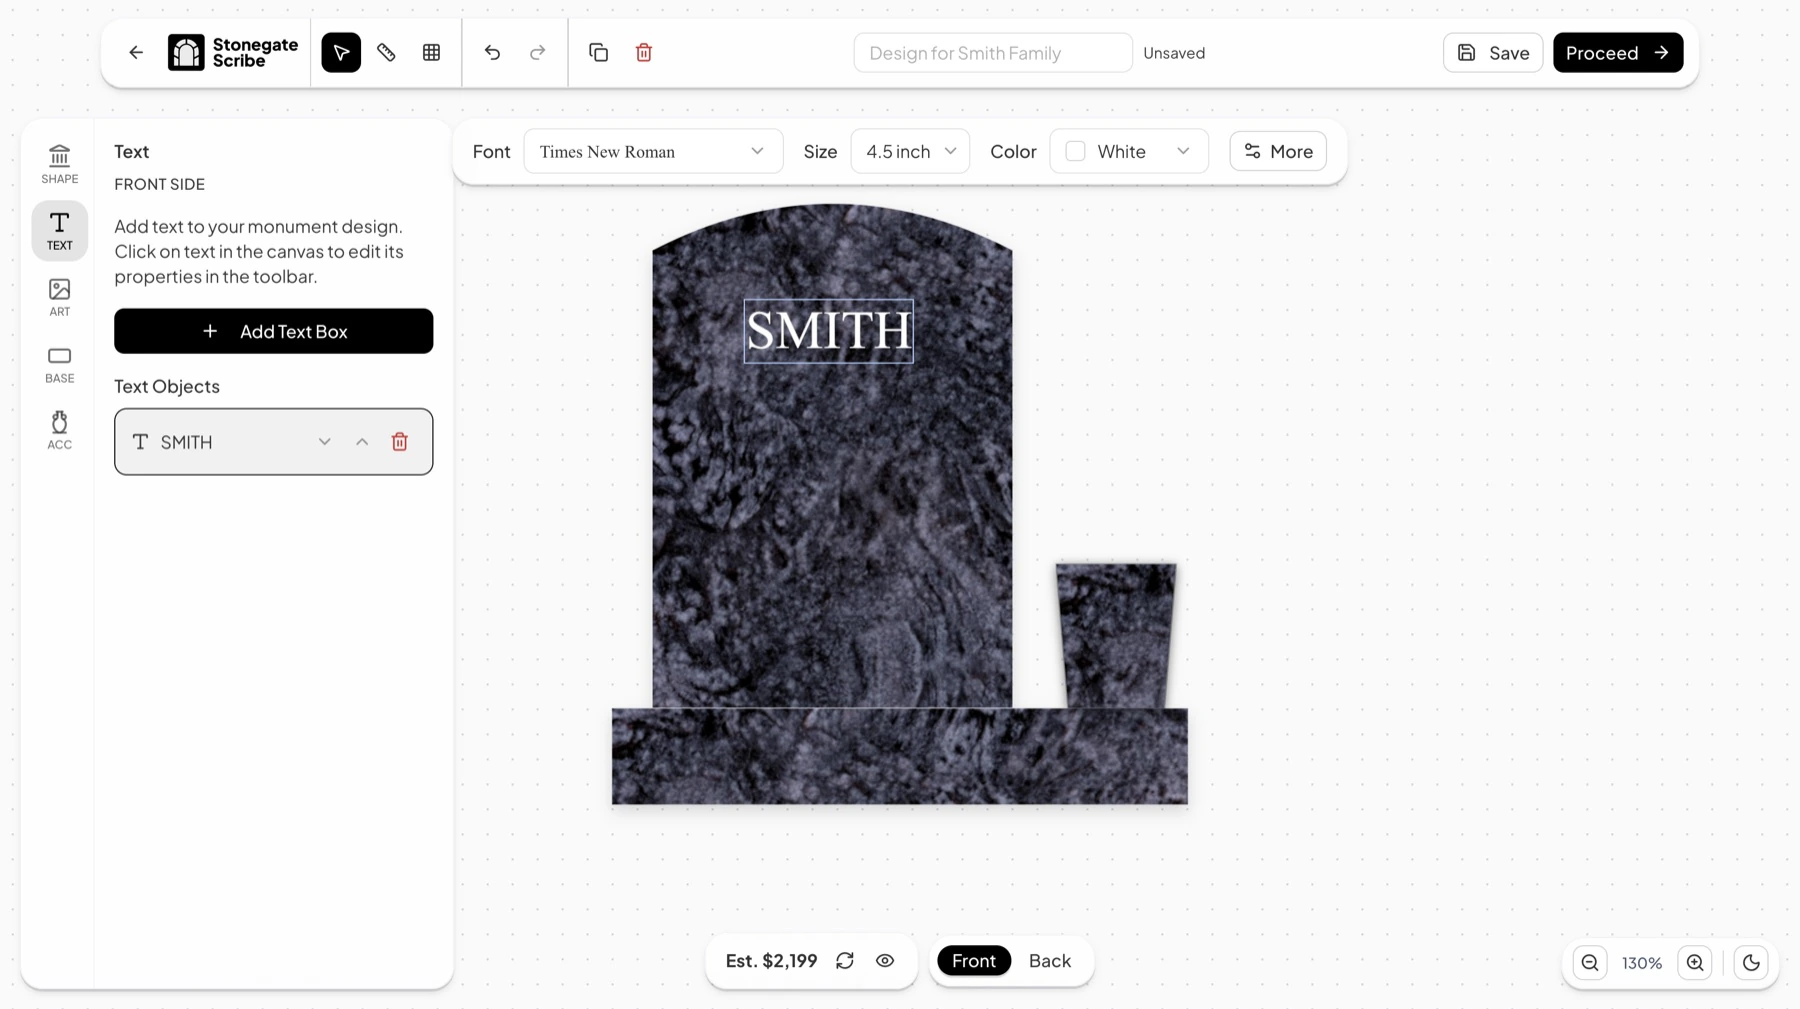
TEXT adds inscriptions. Add Text Box places one on the canvas, and everything added is listed under Text Objects. Selecting a text box on the canvas opens its properties in a toolbar above: Font, Size in inches, and Color.
The panel is headed with the side being worked on, so text added while the canvas shows FRONT SIDE goes on the front.
Adding Art
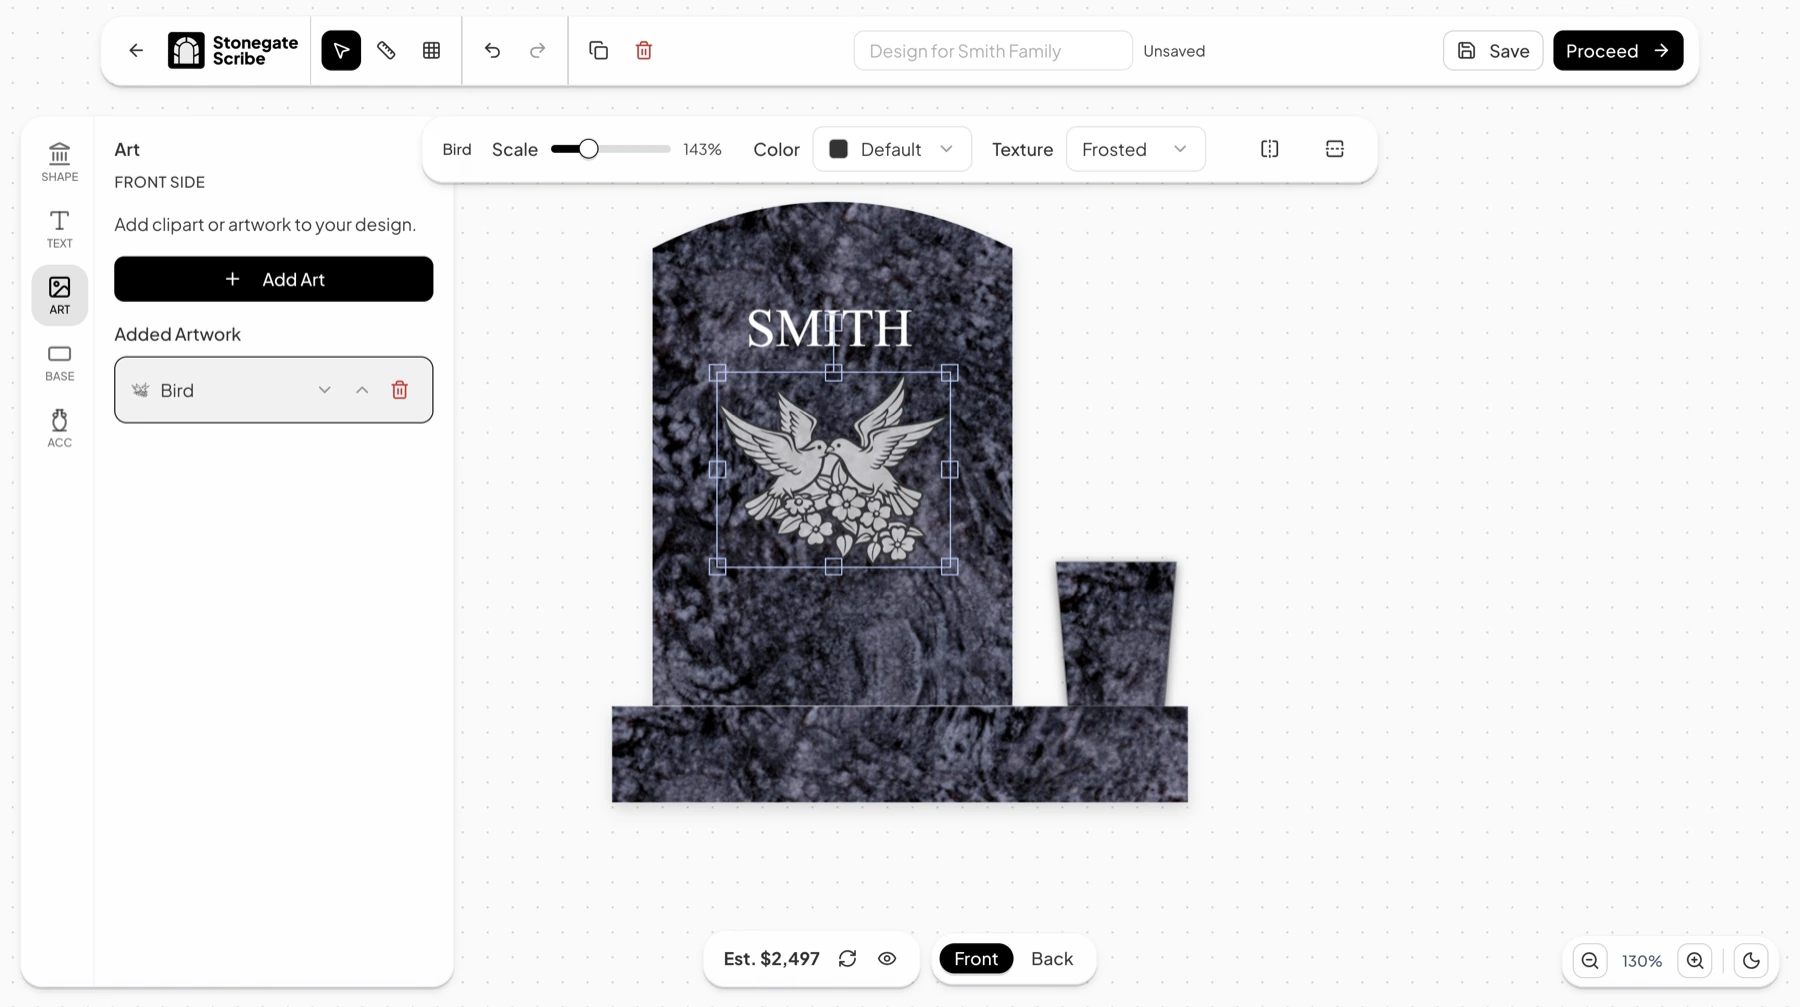
ART works the same way for clipart. Add Art places a piece, and what has been added is listed under Added Artwork. Selecting a piece opens its own toolbar, with Scale as a percentage, Color, and Texture, which is how the carving is rendered.
Saving the Design
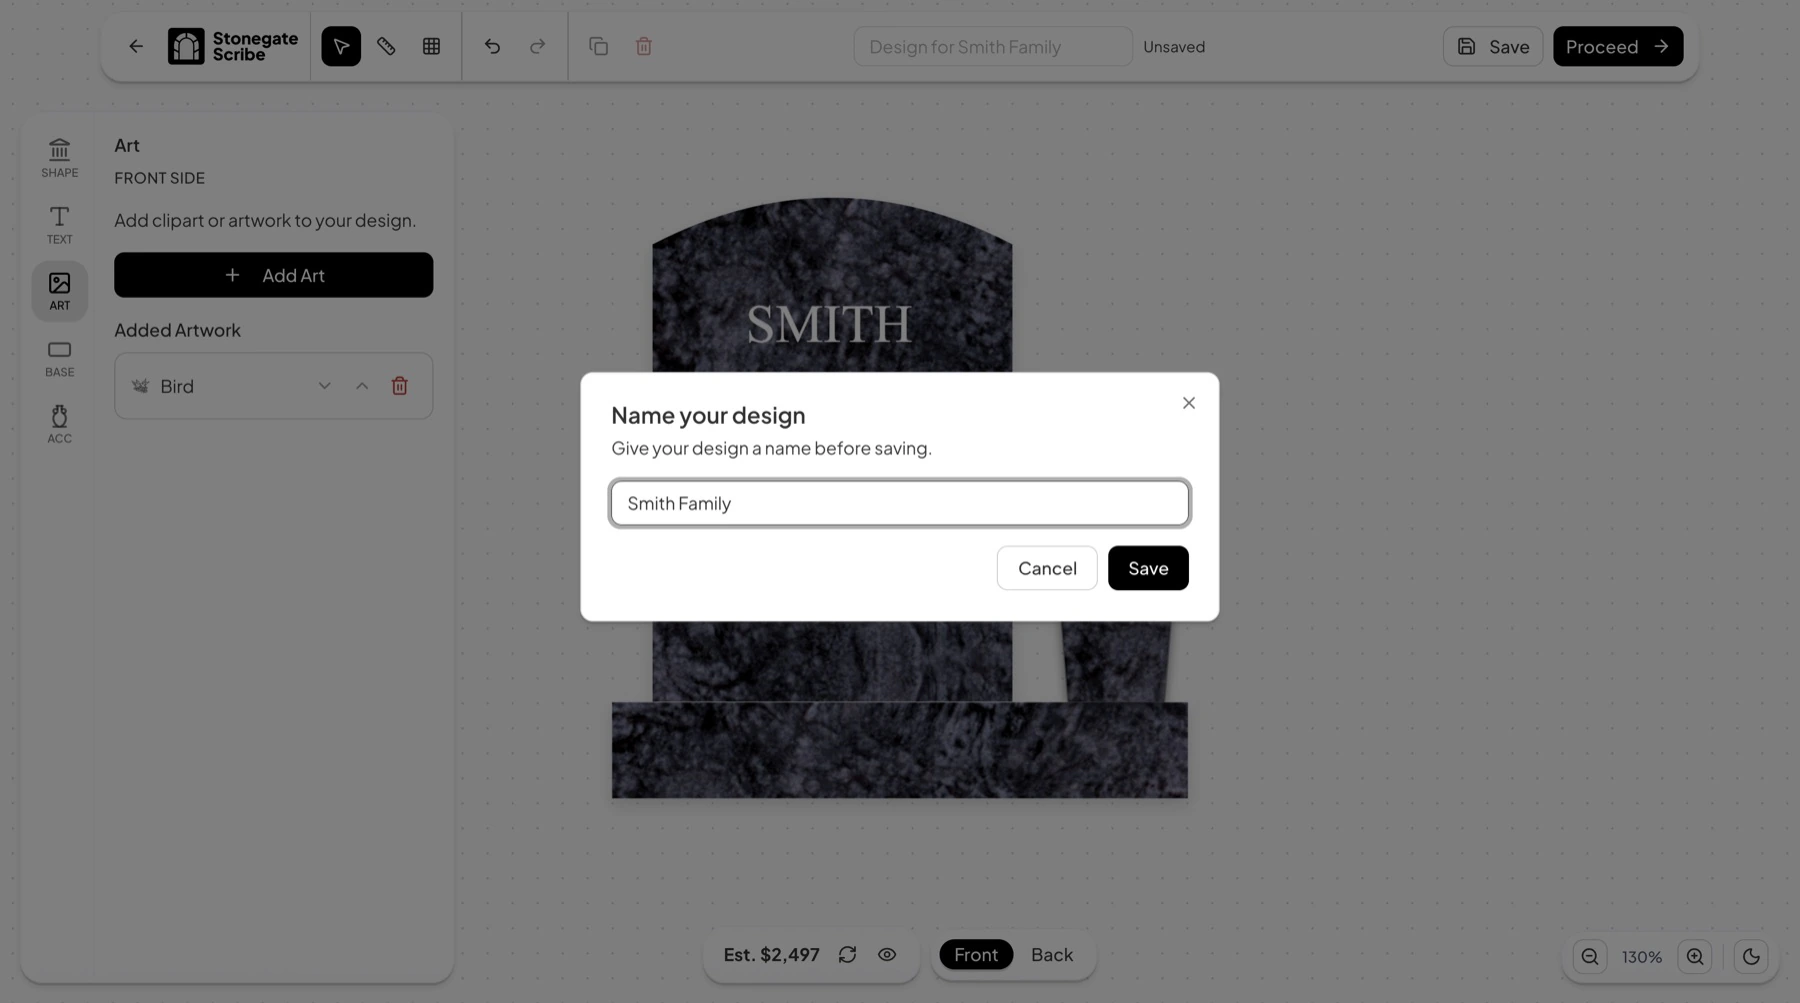
A design carries Unsaved next to its name until it is stored. Save asks for a name the first time, which is what the design is listed under afterward.
Next Step
A design does nothing until it is submitted. Sending one for review, and what the wholesaler does with it, are covered in Creating a Quote From a Design.
The canvas also carries measuring, alignment, and view controls that the walkthrough above does not need. Those are covered in Advanced Design Tools.
Last updated August 1, 2026
Still need help?
If this page did not answer your question, email our support team and include your account name and what you were trying to do.